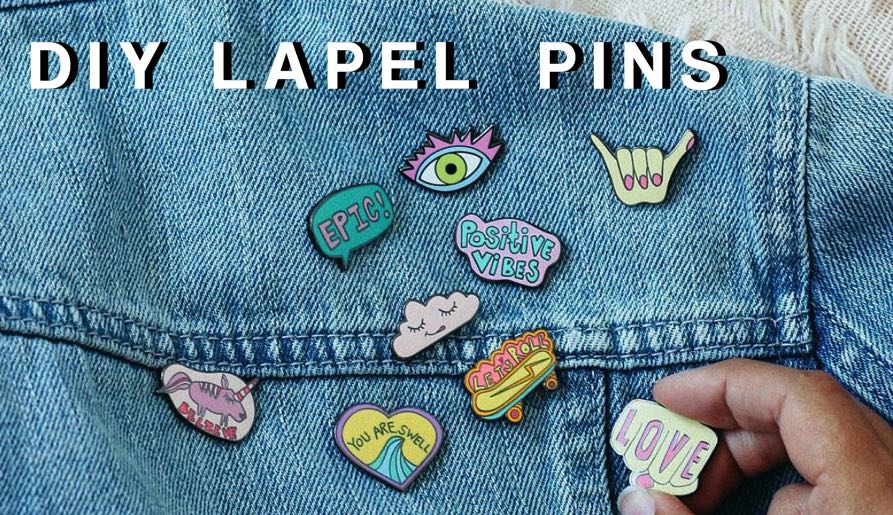
Enamel pins are now taking some space in people’s lives and interests. Some people are interested in these pins because they want to start their own business with it. Some others are consumers looking for an original way to combine accessories and their favorite shows or band. One way or the other, enamel pins are here to stay for a long time.
The fact is that, once the topic took the internet, many information sources have appeared. This can make the process a little fuzzy. It is more difficult to find reliable sources of information when there are pieces of information all over the place. And, to make your own pins, you need to be well informed first. The design process, the manufacture, and the marketing (for business) are significant steps that need to be studied first.
1) What is your enamel pin for?
The purpose of the pin has to be defined from the beginning. Is it just for your clothing? Is it for business? If the pin is going to be given as a gift or maybe as a souvenir, the requirements change. You may need to look for cheaper material that will allow you to order in bulk. Enamel pins that are given as souvenirs are usually less durable than the ones you decide to have for yourself. Besides, knowing the purpose of the pin will also help you decide on the color palette to use, and the general style of the pin.
2) Choose your image or logo
To have a good image for the pin, there are several options. You could do it yourself. This will depend on the knowledge and skill you have for drawing. If you are a designer, this is just a piece of cake. But, if you are not, the following option is more convenient. Find a professional to do the design. These people know exactly how to handle the design that is going to be transformed into a pin. They are going to charge or course. So, if you are looking for something cheaper, there is still one last option. Google the image! There are plenty of images in Google´s database. Just make sure you find the one that is free of copyright.
3) Think about the lines
There is one particular trait with enamel pins. Their lines can be very thick. This is a great feature because it gives the pins a distinctive look. It is part of what makes them unique. The problem with this comes at the design process. If the image has too many details, these will be transferred to lines, and they can get blurry. When choosing an image or making a design, make sure you think about these lines. Study how close they are; then, imagine how they are going to look. If you can ask somebody already familiar with pins, great!
4) Soft or hard enamel?
Some people think that hard enamel is better just because it is hard. The truth is both are excellent material and choosing one over the other is more a matter of personal style. Hard enamel pins take a glassy appearance when they are finished; it is very similar to working with cloisonne pins. Soft enamel pins are cheaper, and they are also easier to make so that they can be finished faster. If you have a big order and need it fast, soft enamel pins are a better option. But if you want the pins to look like jewels, hard enamel is the best.
5) Look for a good manufacturer
All is lost without a good manufacturer. There is no point in devoting your time to perfect design and colors when the people making the pins are not good at their job. There are also multiple options available to take your order. Many will offer discounts and special offers so, be careful. Try to pick a manufacturer that is willing to send a sample and offers some sort of reimbursement. If you can take a look at their comments section or something similar is also good. You have to be sure the company is going to deliver the quality you are looking for!

